Quickstart a new App SDK app
You've now got content to work with and a Sanity Studio, it's time to start building your app.
studio directory)# in the parent directorynpx sanity@latest init --template app-sanity-ui --typescript --output-path app-feedbackYou may be prompted to select an Organization, select your personal organization, as that's where the project you created in the previous lesson was created.
You should now have these two adjacent folders.
feedback-course├── app-feedback└── studioThe command you just ran uses the Sanity UI app template. This includes the required context and packages for the same front end library used in other Sanity applications like Sanity Studio, Media Library and Dashboard.
You're free to use the front-end library of your choice in Sanity App SDK applications. For this course, however, you'll use Sanity UI so that the application you build shares visual harmony with the rest of the dashboard experience.
By default, SDK Apps use the same port number (3333) as the Studio. To run the Studio and your applications simultaneously, you can update sanity.cli.ts of either one. Let's change the default port of the Studio.
import {defineCliConfig} from 'sanity/cli'
export default defineCliConfig({  server: {    port: 3334,  },  // ...all other settings})
Restart your Studio's development server, you'll get a new development URL.
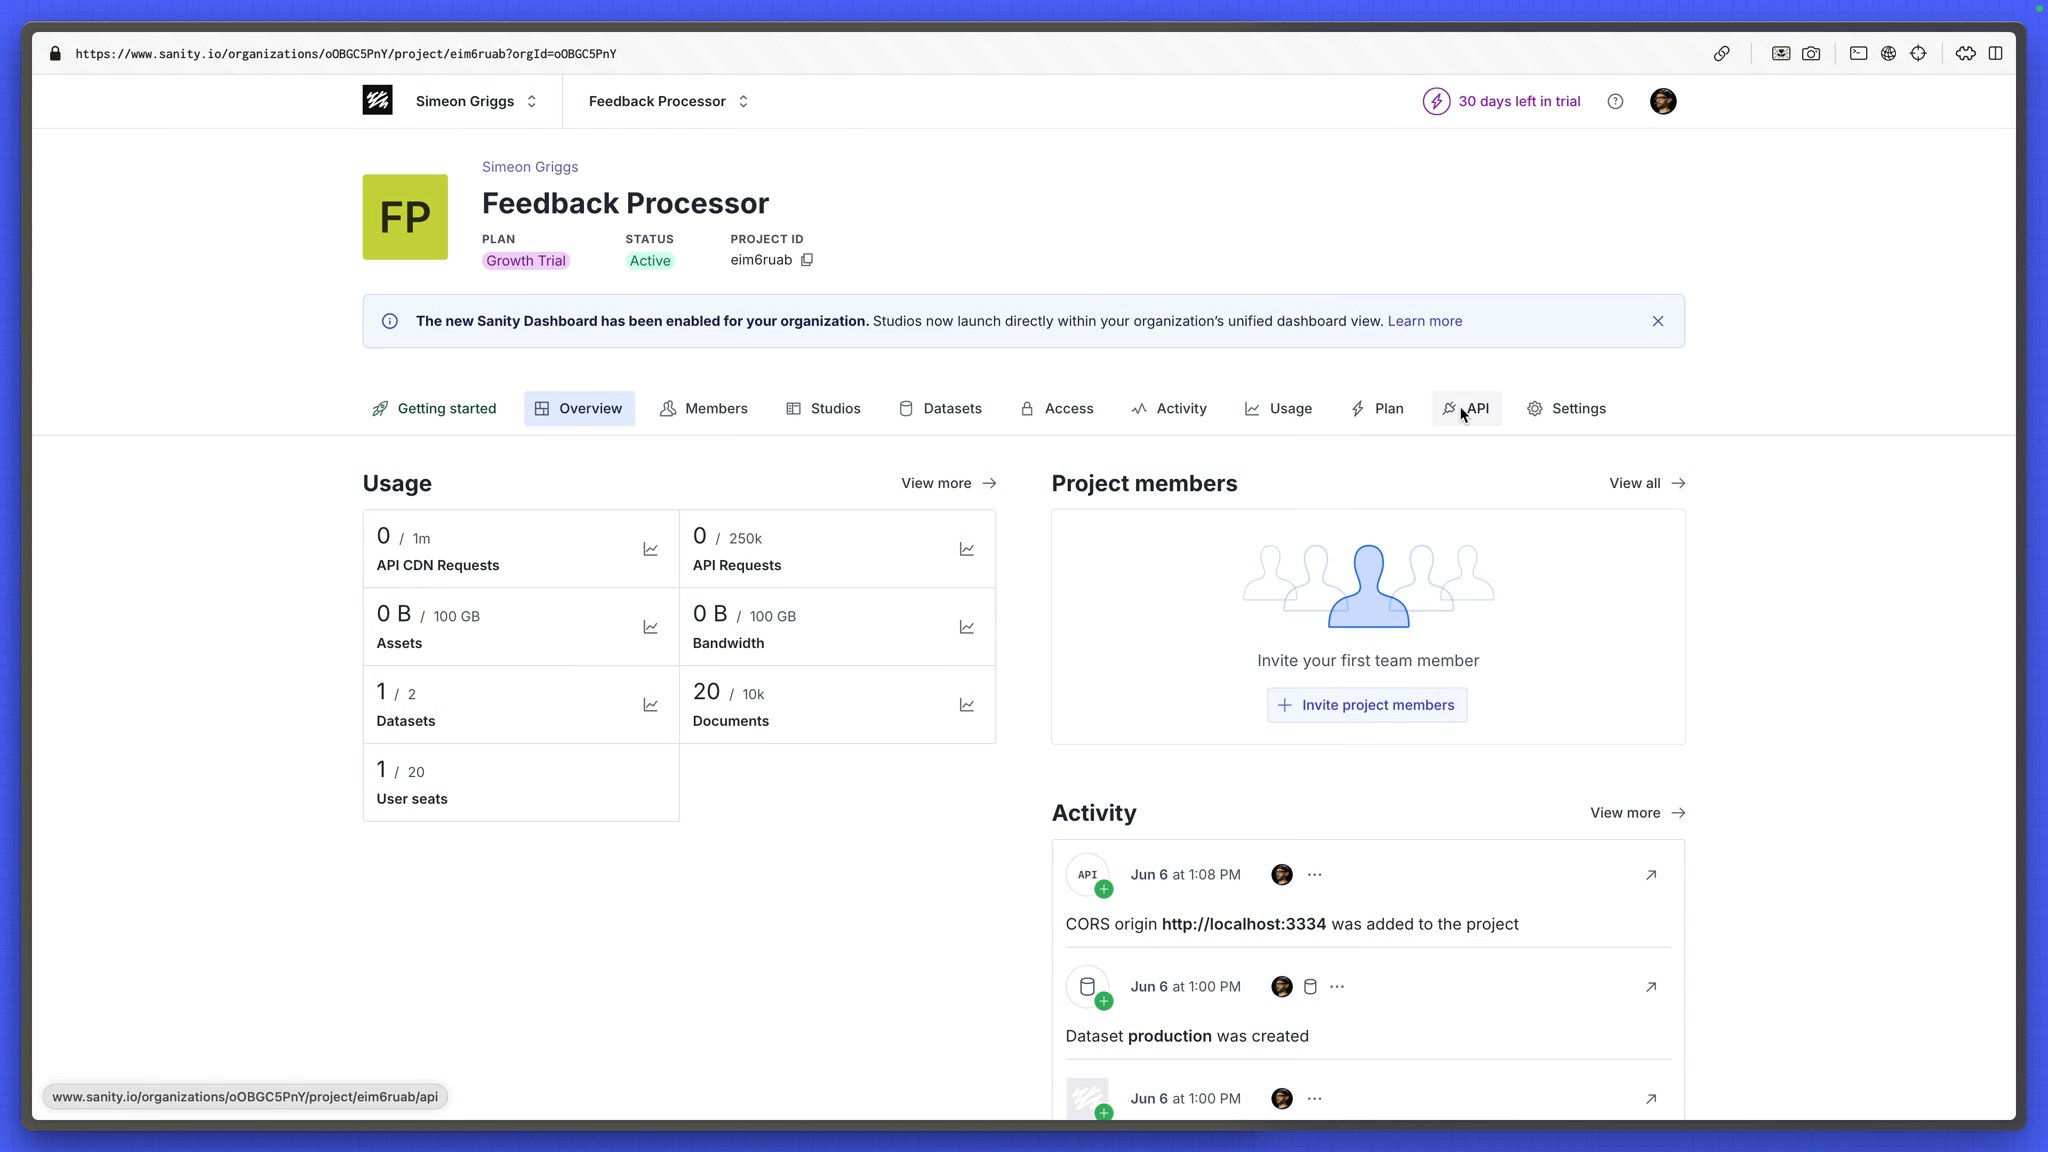
Open the Studio in your browser and be asked to create a new CORS origin.
You can follow the instructions in the browser, or create a new origin using Sanity CLI with the following command run from inside your studio folder.
# in /studionpx sanity@latest cors add http://localhost:3334 --allow app-feedback folder to start the app's development server.# in /app-feedbacknpm run dev app-feedback/sanity.cli.ts to use the correct Organization ID.You'll see a URL in the terminal to open the App running from within the Sanity Dashboard.
Dashboard is the default "home screen" where authors can move between deployed Studios and other applications—such as the one you're building right now. The Dashboard also provides authentication to your app.
In a large enough organization, you may have many teams of authors working between or across multiple projects all served by deployed Sanity Studio instances or Apps of all shapes and sizes.
Content operations are not the job of a one-size-fits-nobody CMS!
While this app will only target one project, an App SDK app can target multiple (worth knowing: Sanity Studio can't do this).
The entry point for your application is App.tsx, you can see this defined in sanity.cli.ts.
App.tsx file with the details found in your studio/sanity.config.ts file.const sanityConfigs: SanityConfig[] = [ { projectId: 'REPLACE-WITH-YOUR-PROJECT-ID', dataset: 'production', },] There is an ExampleComponent already loaded as the main child of the application. Let's replace this with our first use of the App SDK's React hooks to query for a list of documents.