Create a new Project and Studio
Content written to Sanity is stored within the Content Lake, not in Sanity Studio. The schema types you configure are made available in Sanity Studio, and it writes content of that shape to the Content Lake.
You can think of the Sanity Studio as a "window into the Content Lake."
Nope!
You can write data of any shape (that conforms to JSON) to the Content Lake.
But having a Studio makes it easier to reason about our complete universe of content if we have one configured. It's also where you'd configure TypeScript types. So you'll start this course by creating a new Sanity project and Sanity Studio—you just won't need to edit any content there.
You can create a new free project and initialize a new Sanity Studio from one command using the Sanity CLI. If you do not yet have a Sanity account, you can create one during this process.
You may like to create a parent folder to contain the projects you work on in this course, as your Sanity Studio and App SDK app will live side-by-side.
Once you have a Studio and App setup, your folder structure should look like this:
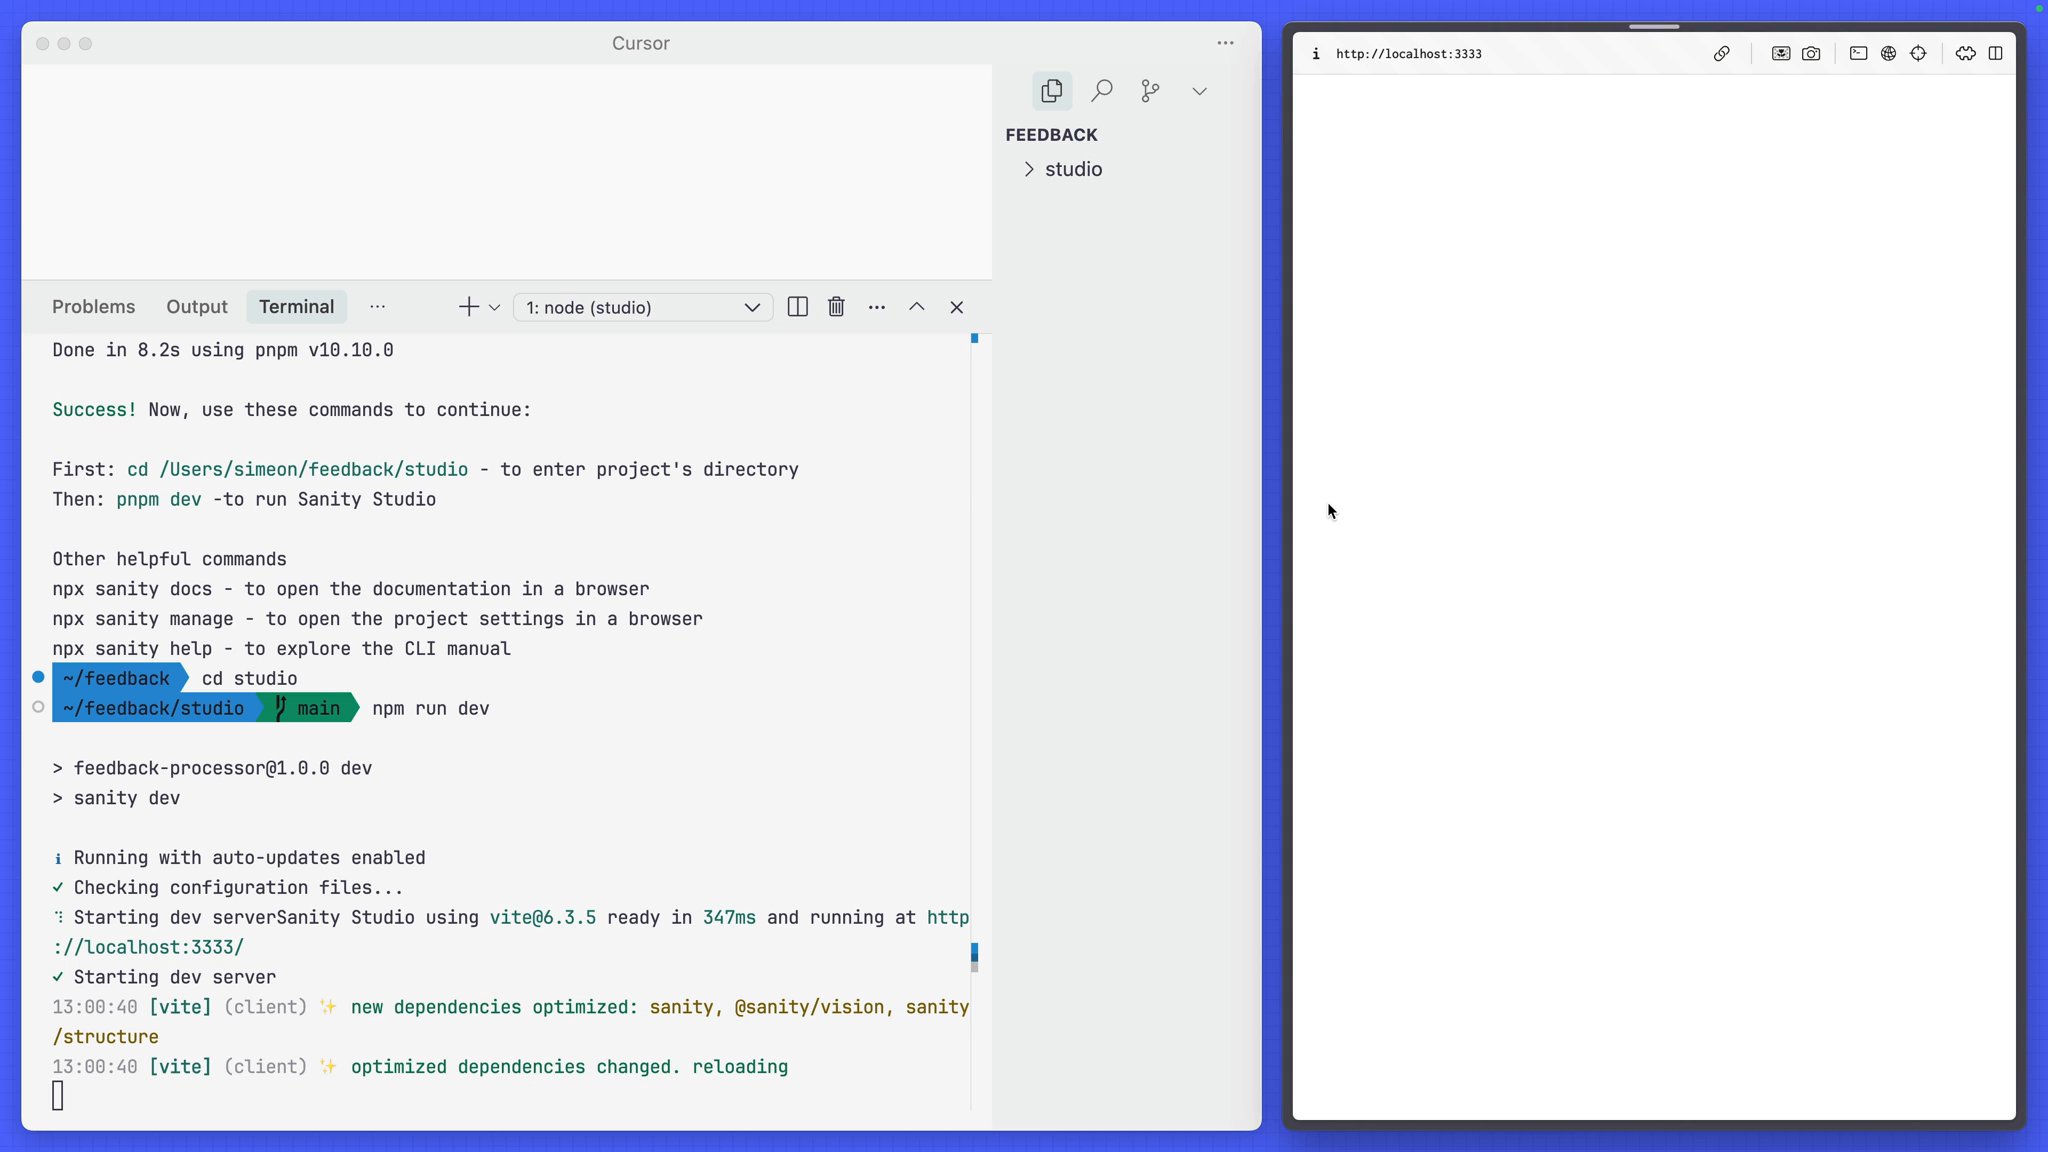
feedback-course├── studio└── app-feedbacknpx create-sanity@latest --template blog --create-project "Feedback Processor" --dataset production --typescript --output-path studio/studio directorynpm run devOpen http://localhost:3333 in your browser and log in. You should now see the Sanity Studio dashboard interface with Post, Category and Author schema types already configured.
The schema types that appear in the Structure tool of Sanity Studio are defined in the project's configuration files. You'll need to create a new file to add "Feedback" type documents as an option in the Studio and a TypeScript type for your App.
import {defineField, defineType} from 'sanity'
export const feedbackType = defineType({  name: 'feedback',  title: 'Feedback',  type: 'document',  fields: [    defineField({      name: 'content',      type: 'text',    }),    defineField({      name: 'author',      type: 'string',    }),    defineField({      name: 'email',      type: 'string',    }),    defineField({      name: 'sentiment',      type: 'string',      options: {list: ['positive', 'neutral', 'negative'], layout: 'radio'},    }),    defineField({      name: 'status',      type: 'string',      options: {list: ['pending', 'approved', 'spam'], layout: 'radio'},    }),    defineField({      name: 'assignee',      type: 'string',    }),    defineField({      name: 'notes',      type: 'text',    }),  ],  preview: {    select: {      title: 'content',      subtitle: 'author',    },  },})
Update the schema types index file to include the feedback schema type.
import blockContent from './blockContent'import category from './category'import post from './post'import author from './author'import {feedbackType} from './feedbackType'
export const schemaTypes = [post, author, category, blockContent, feedbackType]
You should now see an option in your Structure tool to list and create Feedback type documents.
It is easier to build front ends when you have content, and so some has been prepared for you already.
feedback-seed.ndjson studio folder to import 20 example Feedback type documents.npx sanity dataset import feedback-seed.ndjson productionOpen your Studio to confirm these documents are now visible, there's a mix of spam comments and none of them have been marked to indicate their "sentiment," that's the job of our new app!
Let's start building it next.