Build a content application
Many teams will find Sanity Studio sufficient for most of their content operations. However, when teams become fragmented with unique needs or need to perform operations more specifically in bulk or integrated with other systems, reaching outside Sanity Studio and building your application may be best.
Fortunately, Sanity App SDK provides almost all of Sanity Studio's CMS-like behavior as a set of headless React hooks for data fetching and mutation.
This means you can build custom applications that live alongside your Sanity Studio in the "Dashboard."
Let's build a (very simple) custom content application to list all events with a link to their ticket website—so authors can rapidly check, update and fix any incorrect URLs.
For this lesson you'll use the Sanity UI template, but as a headless data library you may use any front end library you prefer such as Tailwind, shadcn/ui, etc.
/day-one directory to initialize a new App SDK app# in /day-onenpx sanity@latest init --template app-sanity-ui --typescript --output-path apps/ticketsYou'll be prompted to select an Organization, choose the same one in which you created your Sanity project.
You should now have your Sanity Studio, Next.js app and App SDK app in three separate, adjacent folders.
day-one/└── apps/ ├── studio/ -> Sanity Studio ├── tickets/ -> Sanity App SDK app └── web/ -> Next.js appYou'll notice in the terminal you're prompted to update the App.tsx file with the details of your Sanity project ID and dataset name.
App.tsx by copying projectId and dataset from your sanity.config.ts fileconst sanityConfigs: SanityConfig[] = [ { projectId: 'REPLACE_WITH_YOUR_PROJECT_ID', dataset: 'production', },];By default, SDK Apps use the same port number (3333) as the Studio. To run the Studio and your applications simultaneously, you can update sanity.cli.ts of either one.
Let's change the default port of the Studio.
import {defineCliConfig} from 'sanity/cli'
export default defineCliConfig({  server: {    port: 3334,  },  // ...all other settings})
Restart your Studio's development server, you'll get a new development URL.
Open the Studio in your browser and be asked to create a new CORS origin.
You can follow the instructions in the browser, or create a new origin using Sanity CLI with the following command run from inside your studio folder.
# in apps/studionpx sanity@latest cors add http://localhost:3334 --allow apps/tickets folder to start the app's development server.# in apps/ticketsnpm run dev apps/tickets/sanity.cli.ts to use the correct Organization ID.You'll see a URL in the terminal to open the App running from within the Sanity Dashboard.
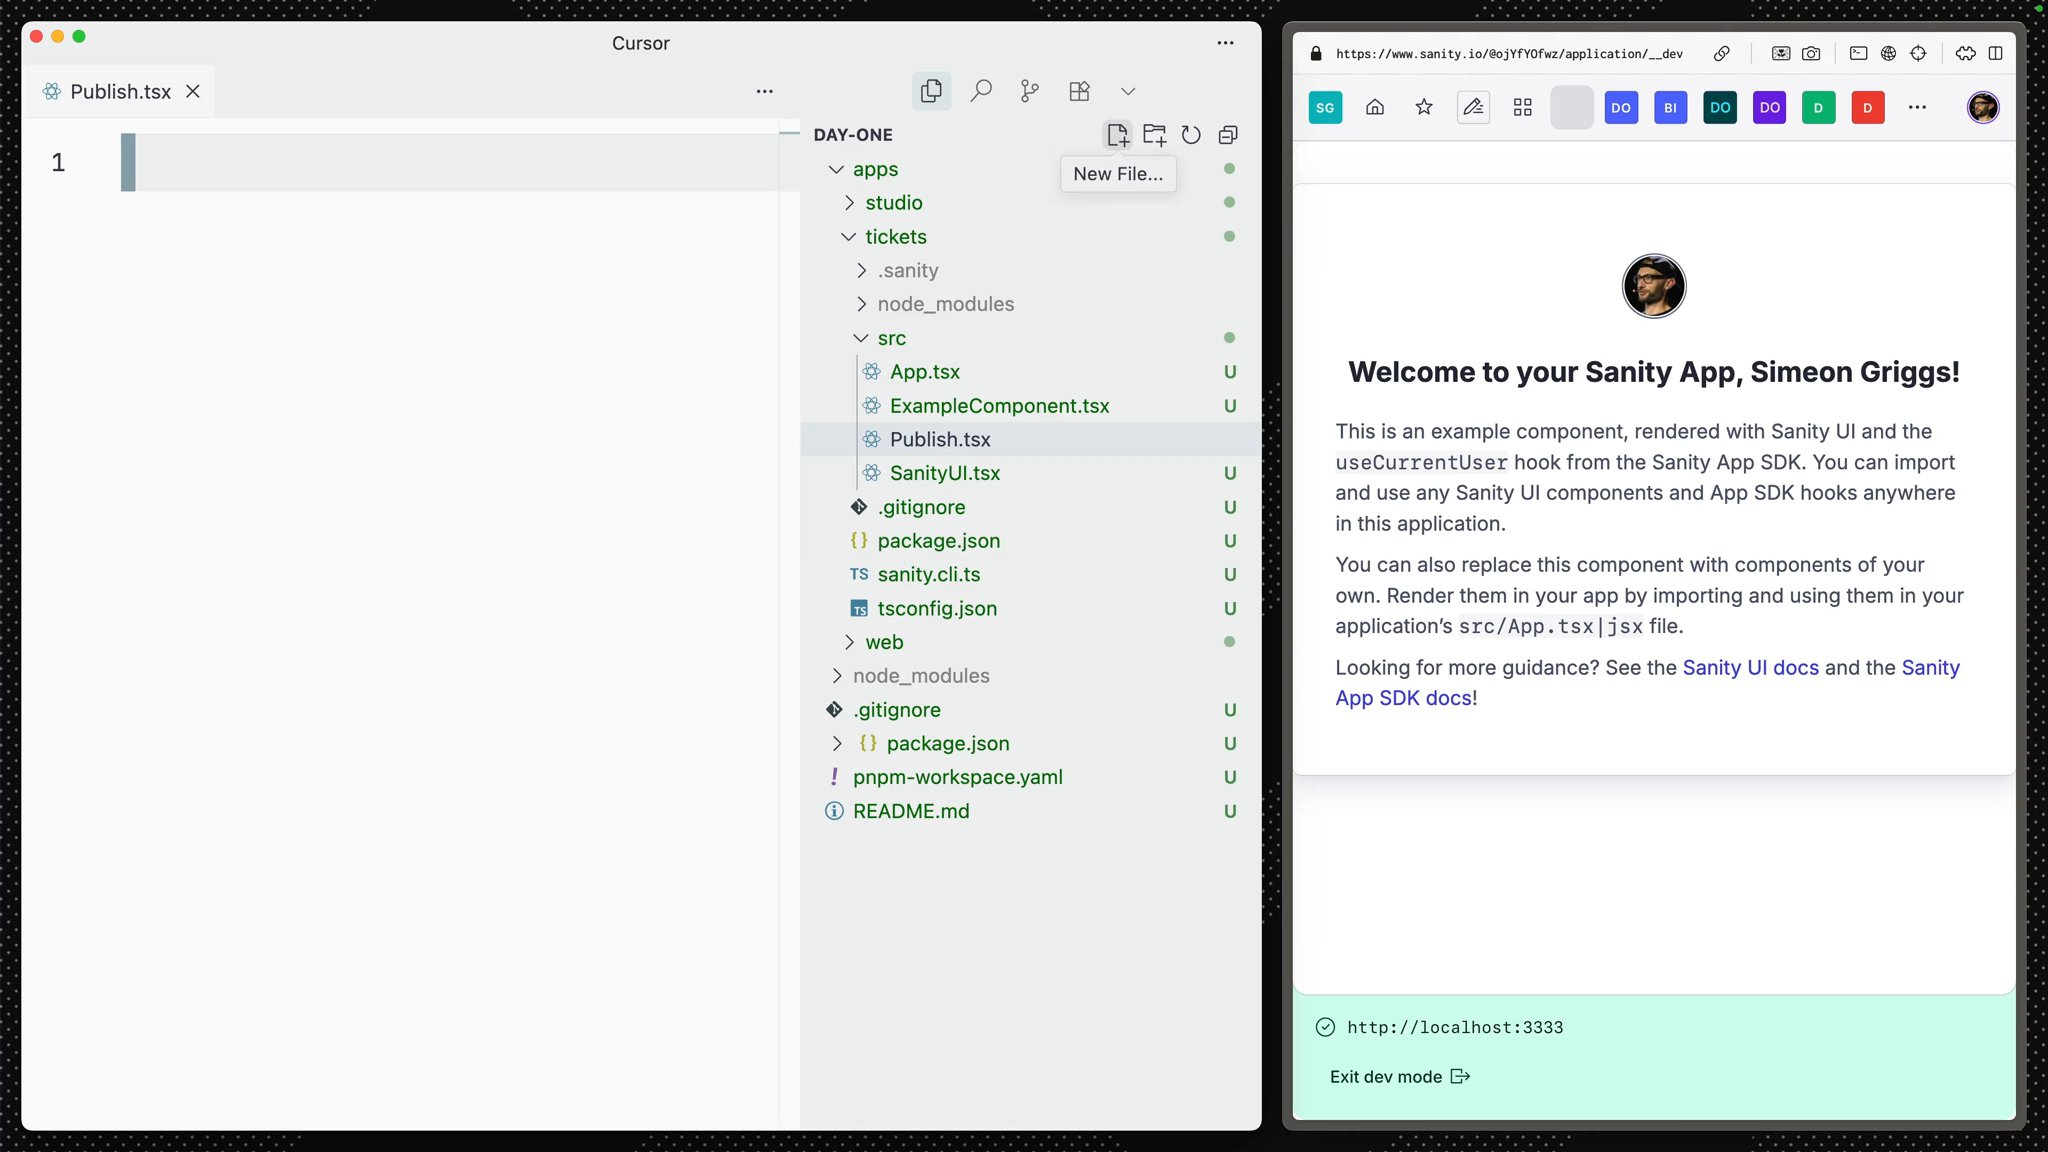
Dashboard is the default "home screen" where authors can move between deployed Studios and other applications—such as the one you're building right now. The Dashboard also provides authentication to your app.
Sanity App SDK for React is a collection of hooks which are implemented individually into components.
Create following component files to assemble the entire application.
Publish.tsx to publish changes to documents when they are in a draft state.import { DocumentHandle, publishDocument, useApplyDocumentActions, useDocument,} from '@sanity/sdk-react'import {Button} from '@sanity/ui'
export function Publish(props: DocumentHandle) { const {data: _id} = useDocument({...props, path: '_id'}) const isDraft = _id?.startsWith('drafts.') const apply = useApplyDocumentActions() const publish = () => apply(publishDocument(props))
return ( <Button text="Publish" disabled={!isDraft} tone="positive" mode="ghost" onClick={publish} /> )}Pay particular attention to useApplyDocumentActions in this component, this same hook can be used to duplicate, delete or revert changes to documents.
TicketURL.tsx to update, validate and open the current ticket URL value in the document.import {DocumentHandle} from '@sanity/sdk'import {useDocument, useEditDocument} from '@sanity/sdk-react'import {Box, Button, TextInput} from '@sanity/ui'
function isValidUrl(url: string) { try { new URL(url) return true } catch { return false }}
export function TicketURL(props: DocumentHandle) { const {data: value} = useDocument<string>({ ...props, path: 'tickets', }) const editTicketURL = useEditDocument({ ...props, path: 'tickets', })
const isValid = isValidUrl(value || '')
return ( <> <Box flex={1}> <TextInput type="url" value={value || ''} onChange={(event) => editTicketURL(event.currentTarget.value)} /> </Box> <Button href={value} target="_blank" disabled={!isValid} text="Open" tone="primary" mode="ghost" as="a" /> </> )}This hook uses both useDocument and useEditDocument to optimistically track the value of a field as well as create a function to edit the value of the document at that path.
Create Event.tsx to query for the name of the value and render the previous components.
import {Suspense} from 'react'import {DocumentHandle} from '@sanity/sdk'import {useDocumentProjection} from '@sanity/sdk-react'import {Card, Flex, Grid, Text} from '@sanity/ui'import {TicketURL} from './TicketURL'import {Publish} from './Publish'
type EventProjection = {  name: string | null  tickets: string | null}
export function Event(props: DocumentHandle) {  const {data: event} = useDocumentProjection<EventProjection>({    ...props,    projection: `{ name }`,  })
  return (    <Card borderBottom paddingBottom={3}>      <Grid columns={2} gap={2}>        <Text>{event?.name || 'Untitled'}</Text>        <Flex gap={1}>          <Suspense fallback="Loading...">            <TicketURL {...props} />          </Suspense>          <Suspense fallback="Loading...">            <Publish {...props} />          </Suspense>        </Flex>      </Grid>    </Card>  )}
This component uses useDocumentProjection since the name field does not need optimistic updates in this App.
Suspense in this app is sub-optimal (to keep code examples smaller) and will lead to layout shift. See useNavigateToStudioDocument for ideas on how to achieve better implementation.Events.tsx to fetch for all event type documents and render an individual role for each one.import {useDocuments} from '@sanity/sdk-react'import {Container, Stack, Text} from '@sanity/ui'import {Suspense} from 'react'import {Event} from './Event'
export function Events() { const {data: events} = useDocuments({ documentType: 'event', })
return ( <Container width={2}> <Stack space={3} padding={4}> {events?.map((event) => ( <Suspense key={event.documentId} fallback={<Text>Loading...</Text>}> <Event key={event.documentId} {...event} /> </Suspense> ))} </Stack> </Container> )}The useDocuments hook fetches documents of a particular type (which can be narrowed with an additional filter and returns an array of "document handles," which are passed down as props and used by many other Sanity App SDK for React hooks.
App.tsx to include the Events component// ...all other importsimport {Events} from './Events'
function App() { // ...config, loading spinner
return ( <SanityUI> <SanityApp config={sanityConfigs} fallback={<Loading />}> <Events /> </SanityApp> </SanityUI> )}
export default AppYou should now see the complete application rendered in your Dashboard. Type a URL into any of the inputs, and once valid you will be able to publish the document or open the URL in a new window.
Notice how making edits to a published document immediately creates a new draft version. Or how if you have the app open in two tabs, both will update automatically. All this complexity is baked into the Sanity App SDK!
You can also deploy your app to the Dashboard the same way you'd deploy a Sanity Studio.
# in apps/ticketsnpx sanity deployThough basic, you've rapidly created a unique content editing experience. Imagine how far you could go with a little extra effort.
pnpm dlx sanity manageA separate course is available to help you gain a deeper understanding of the Sanity App SDK. While it builds from a separate code-base, you will need to complete it in order to unlock the certification exam for this track.
If you're staying on this course, so far we've been looking at in-browser experiences, but you can also make programmatic, reactive events automatic with Sanity Functions. Let's unpack that next.